Or call 613-604-3644
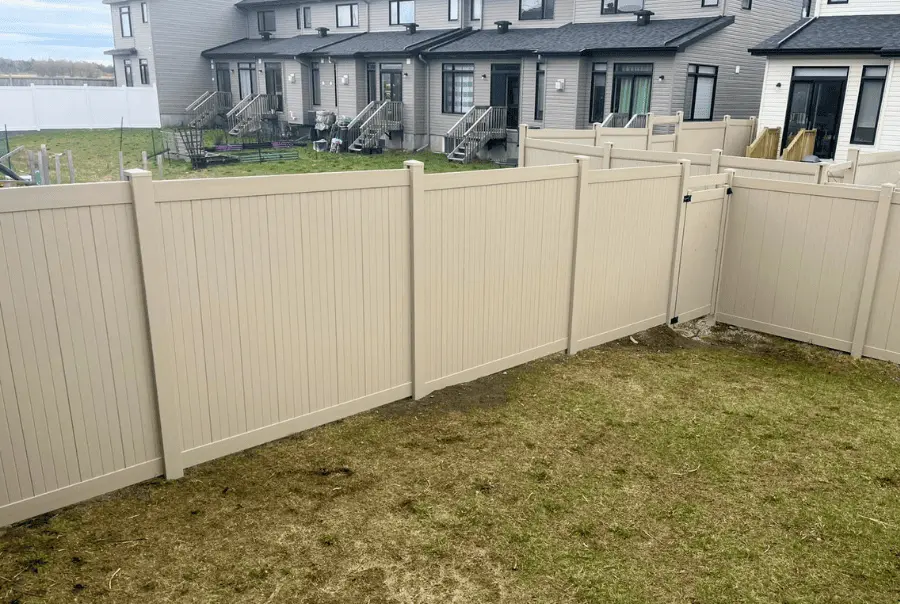
The Last Fence You’ll Ever Need to Buy
The Last Fence You’ll Ever Need to Buy

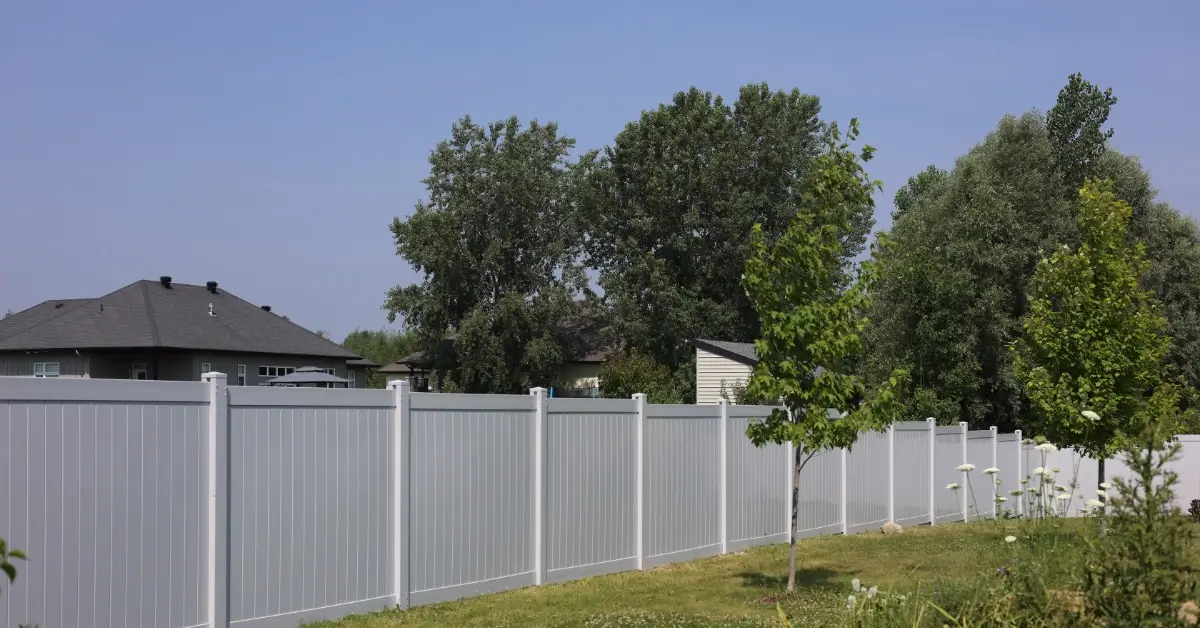
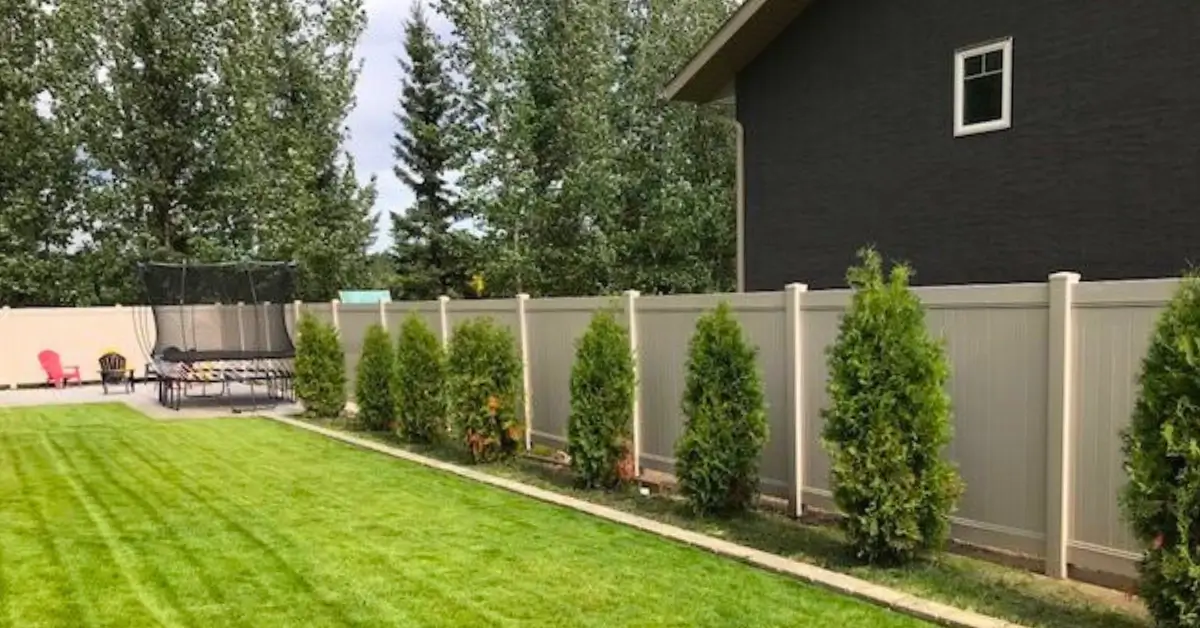
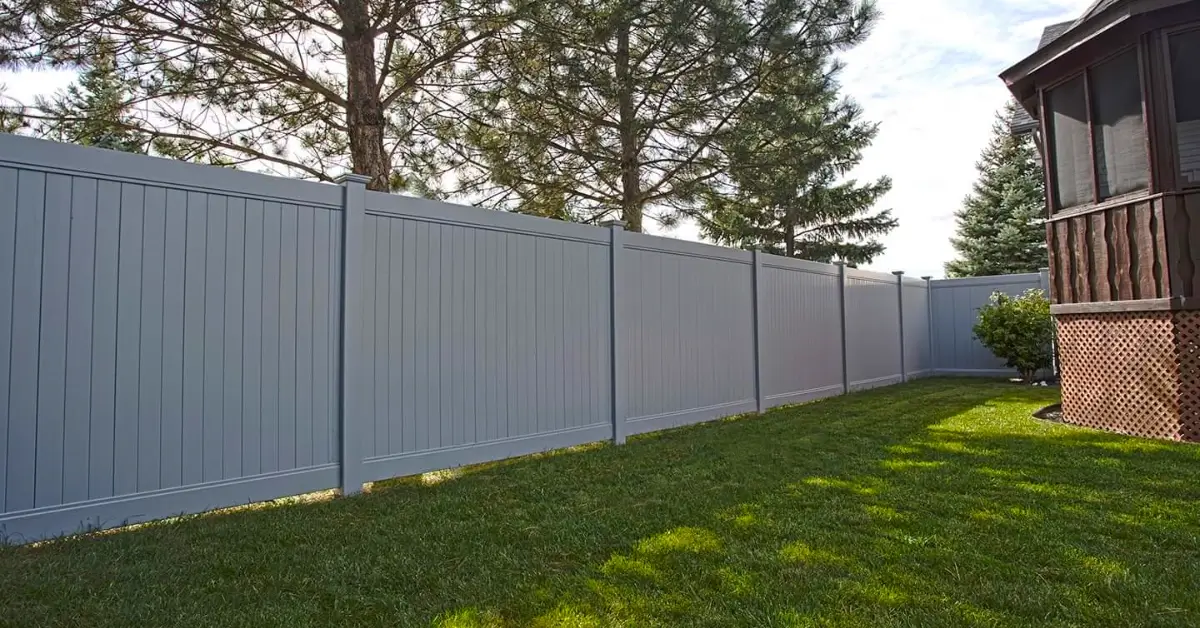
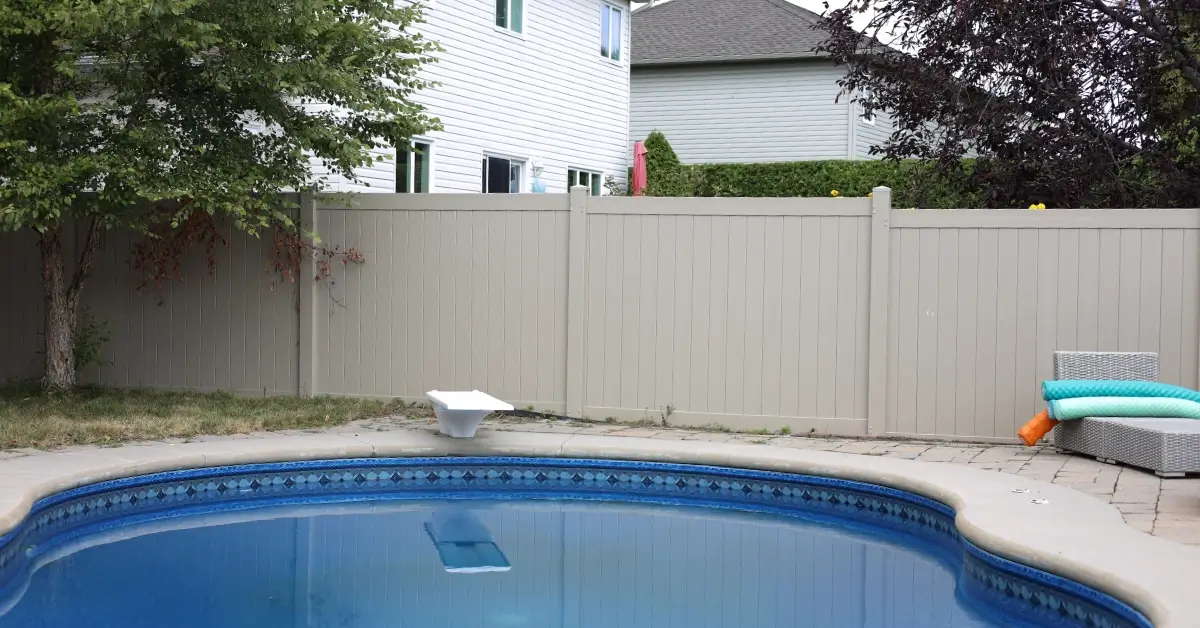
Achieve the perfect modern aesthetic with a fence that never fades, peels, or splinters. Whether you’re looking for total privacy or a classic picket style, our vinyl collection offers a crisp, clean finish that complements any landscape. Durable enough to handle the elements and safe enough for the whole family, it’s the smarter way to define your space.
Upgrade to a fence that works as hard as you do. Vinyl fencing offers the perfect blend of timeless style and modern durability, giving you the classic look you love without the endless cycle of painting, staining, or repairs. It’s the ultimate “set it and forget it” solution for a beautiful, worry-free perimeter.

We offer a wide selection of vinyl fencing styles and custom solutions designed to complement the unique architectural aesthetic of any Ottawa home.
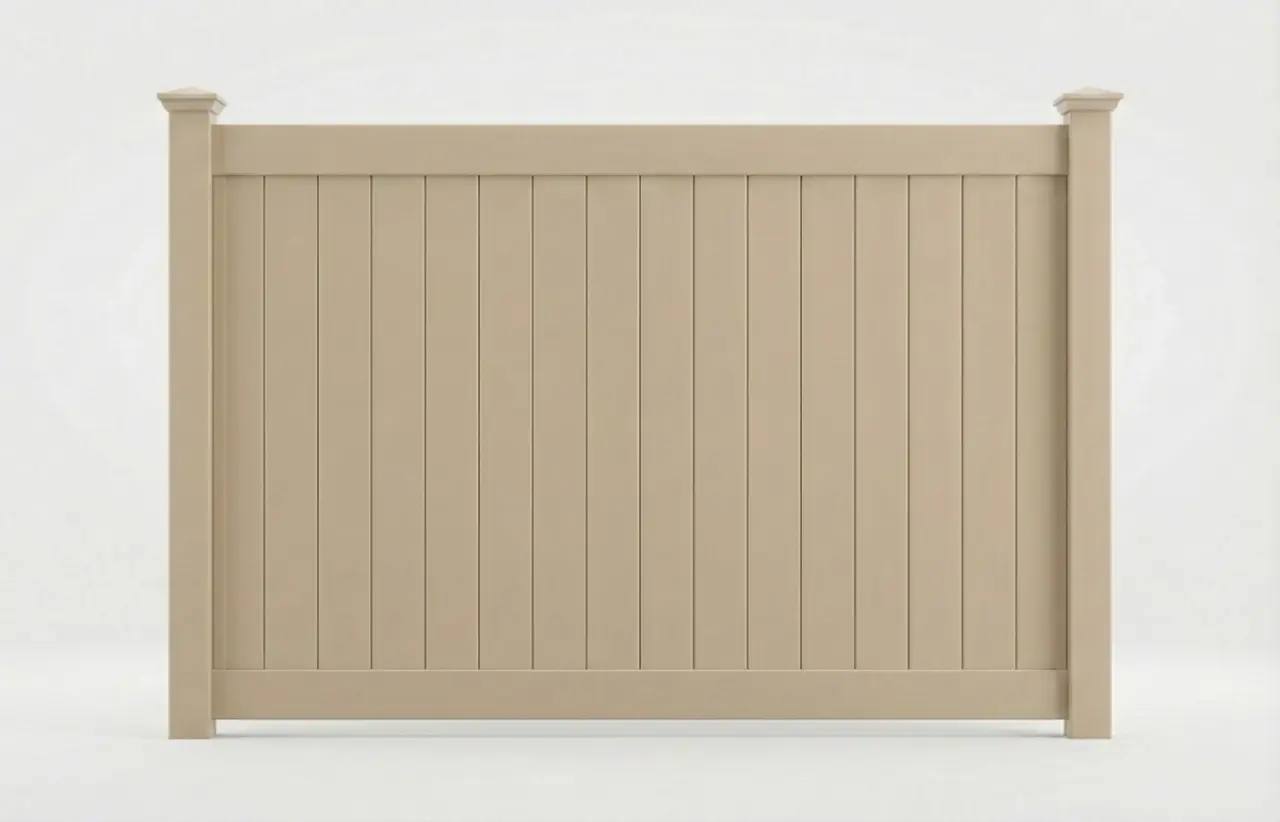
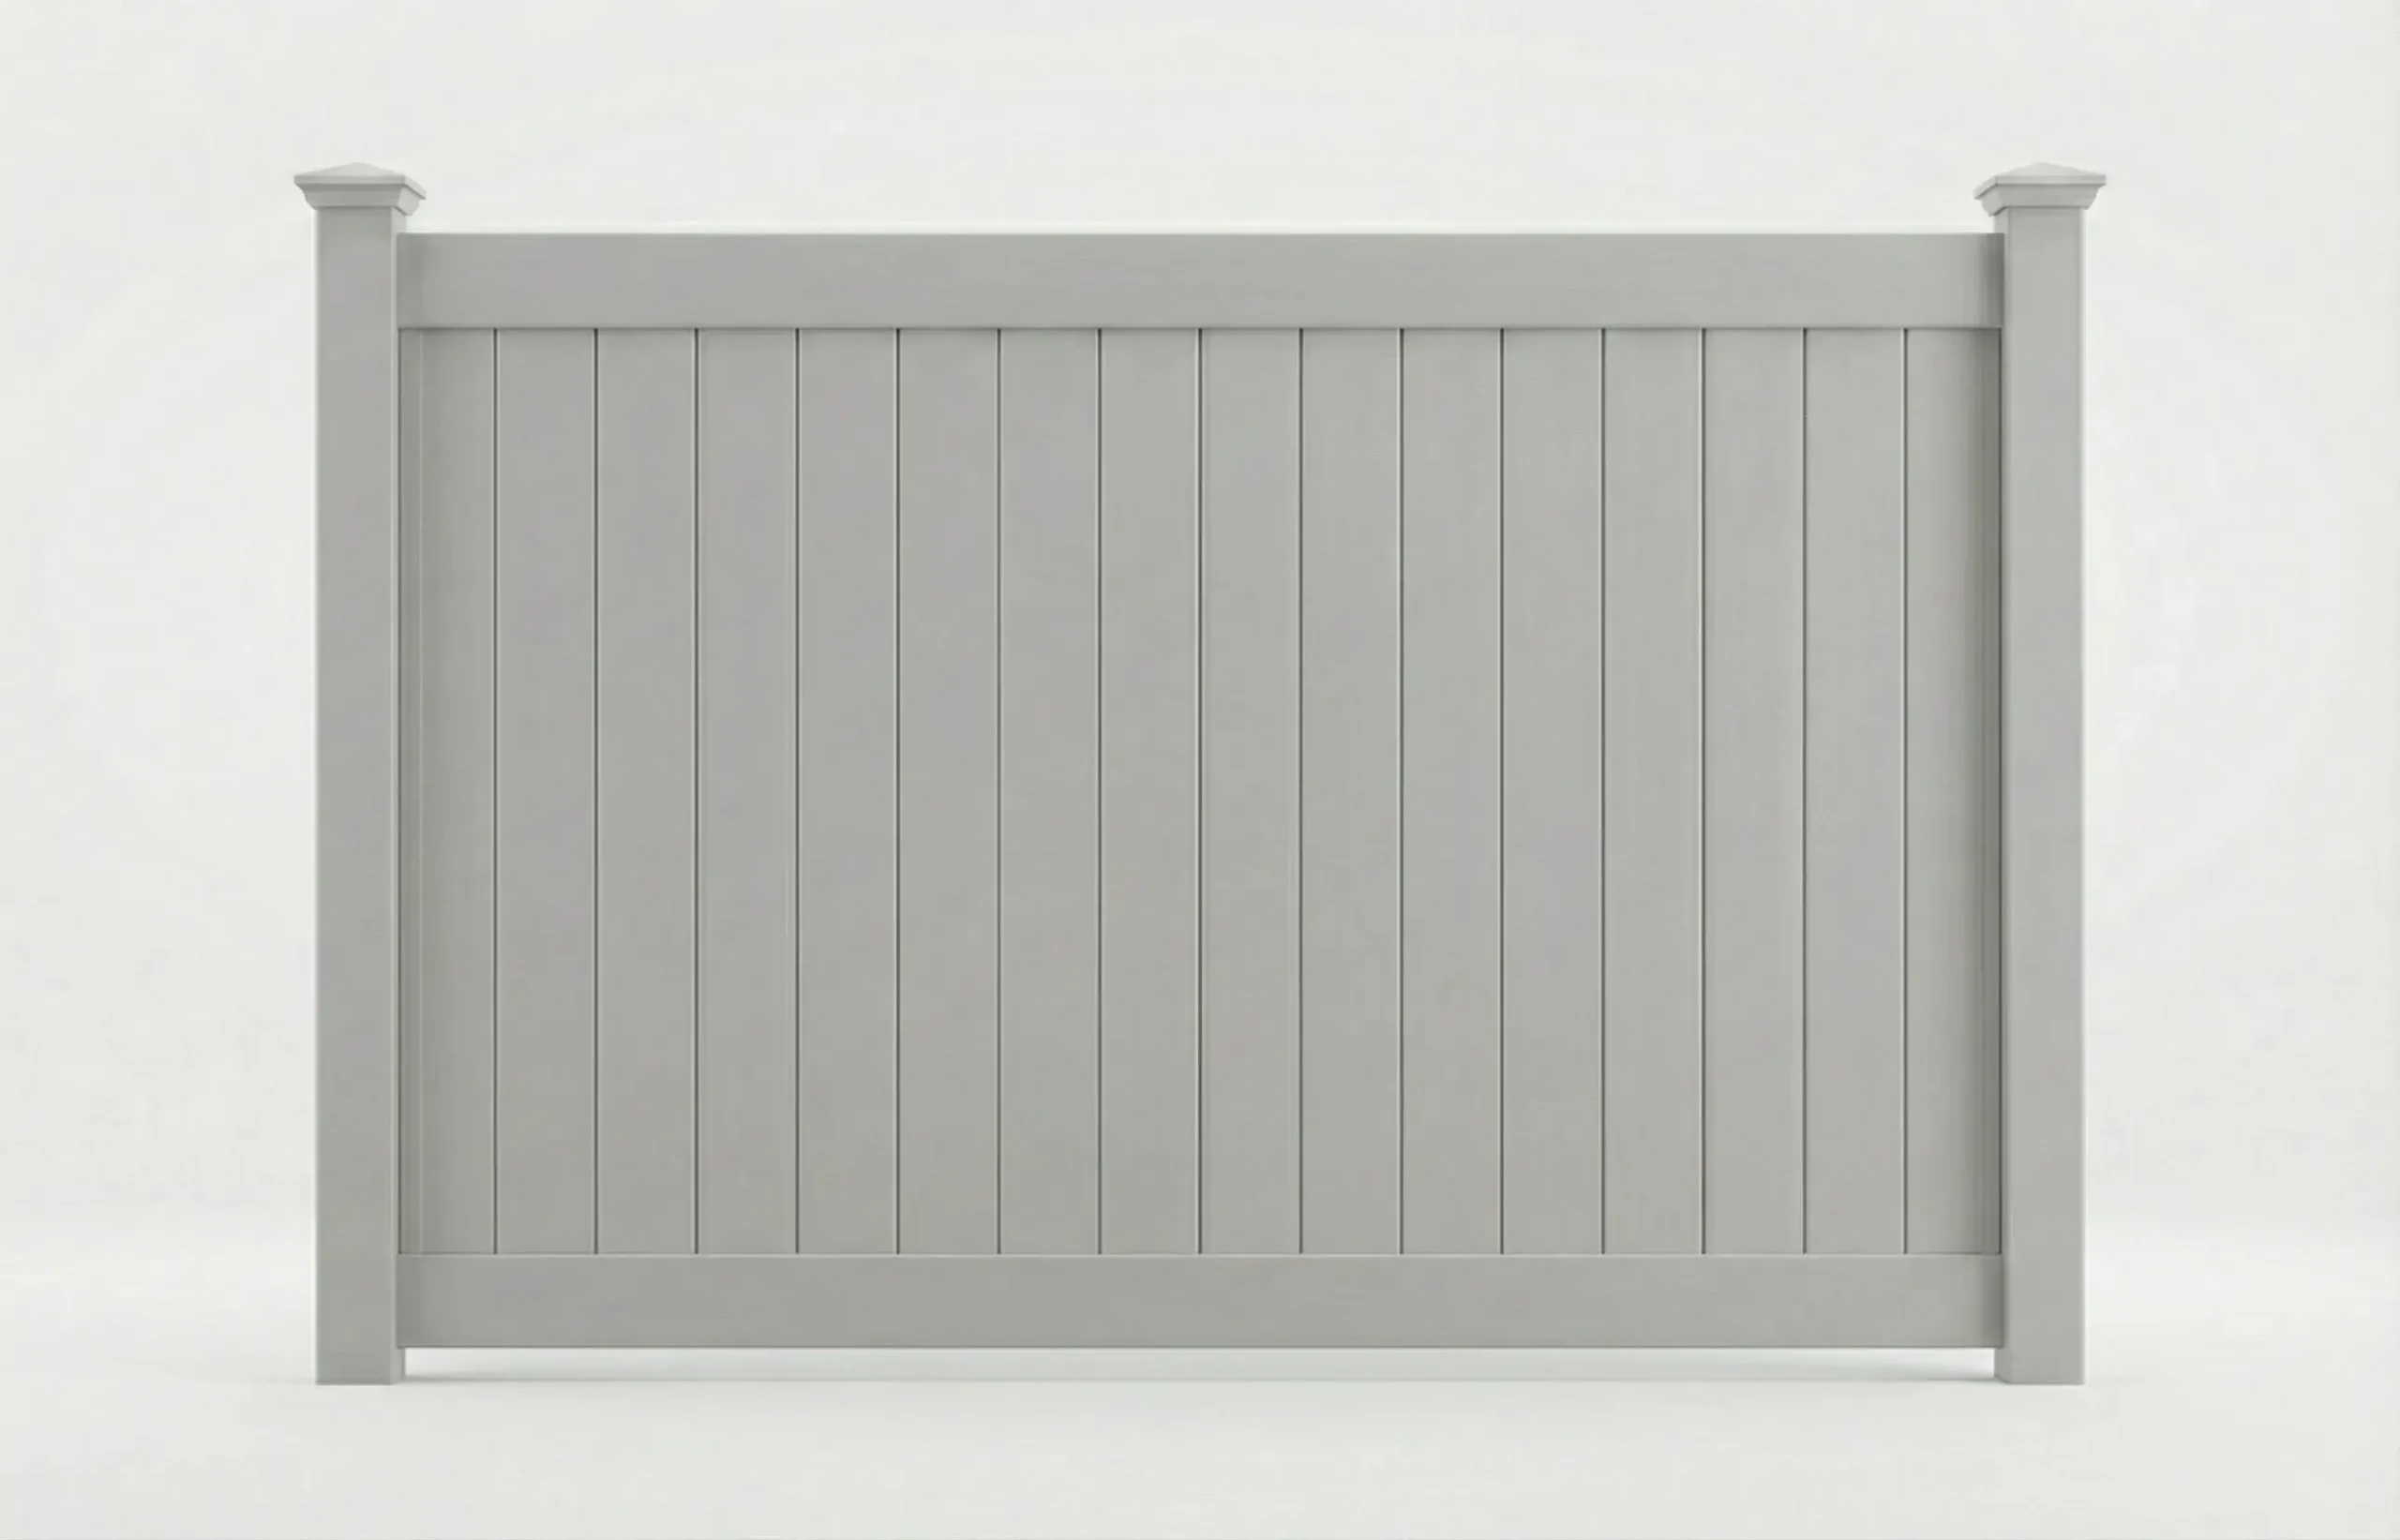
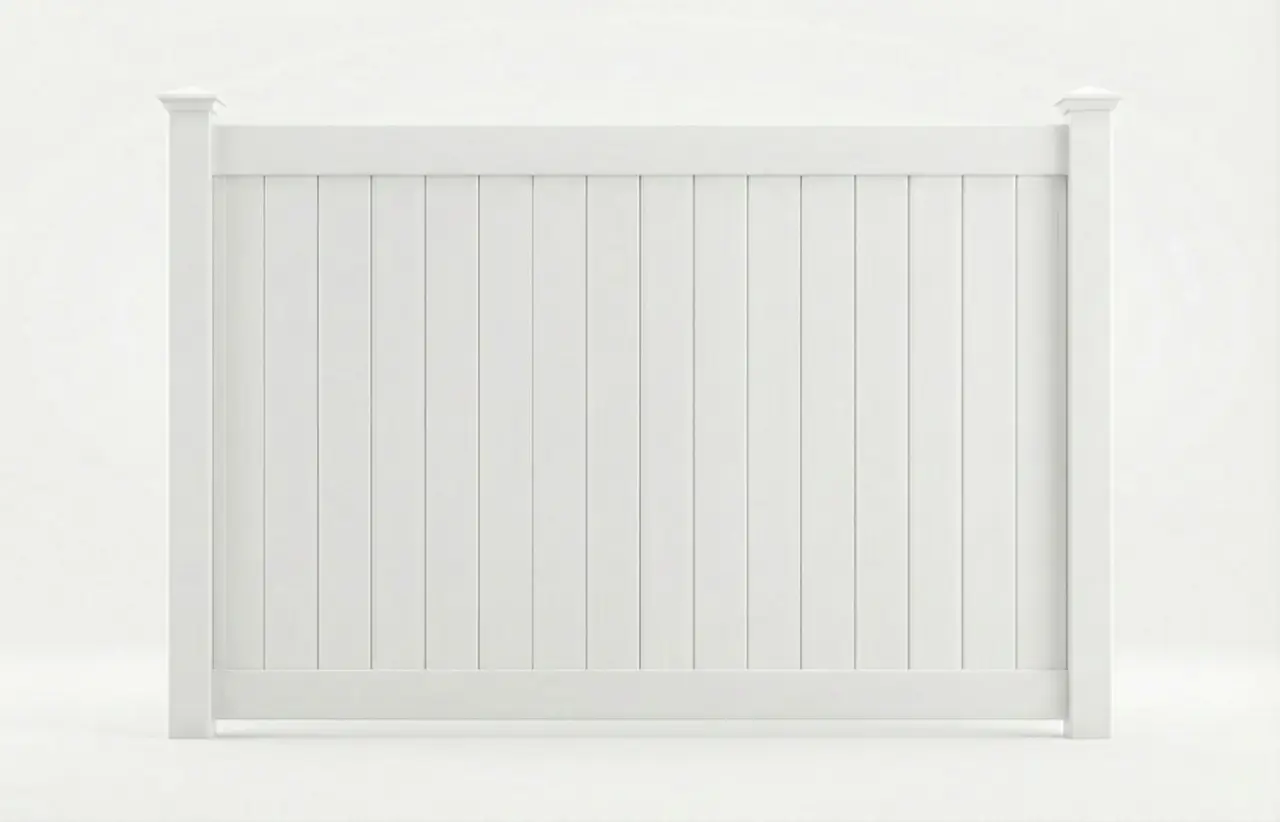
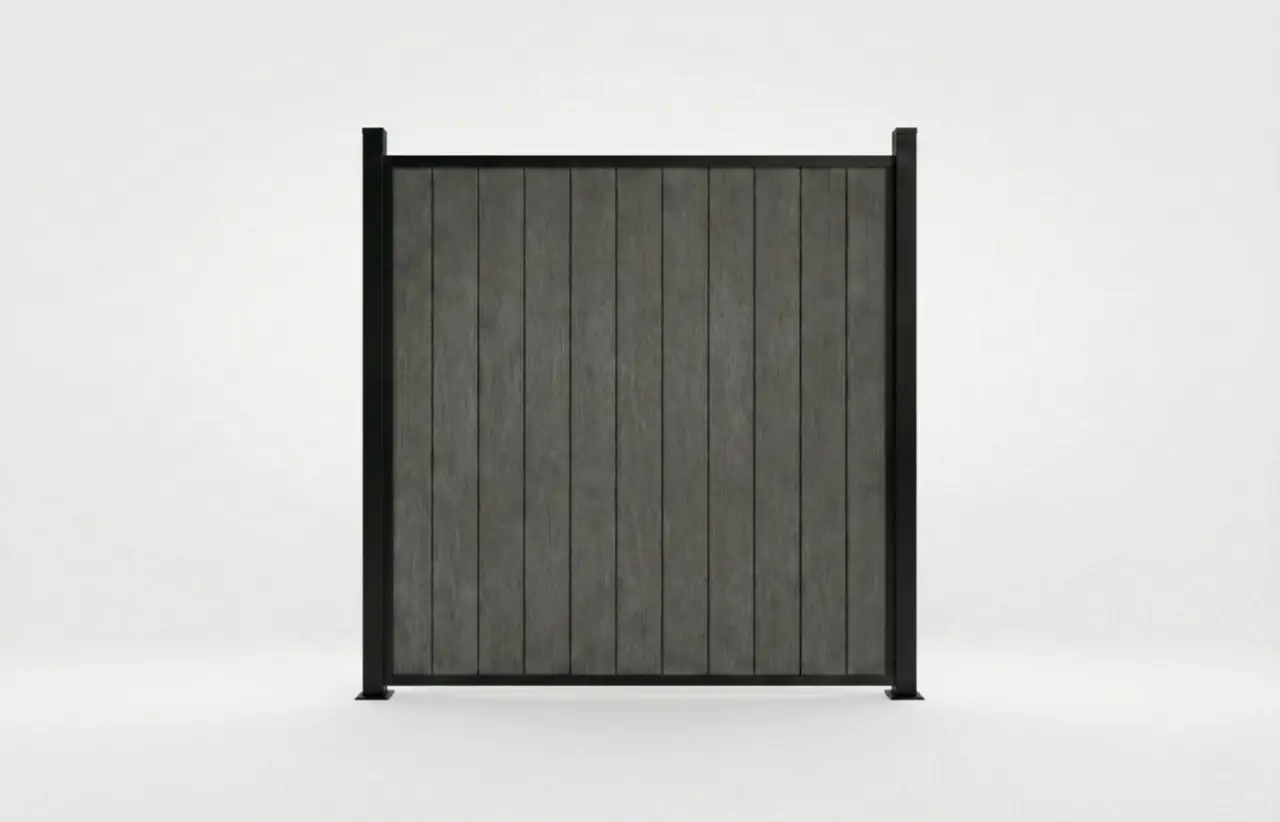
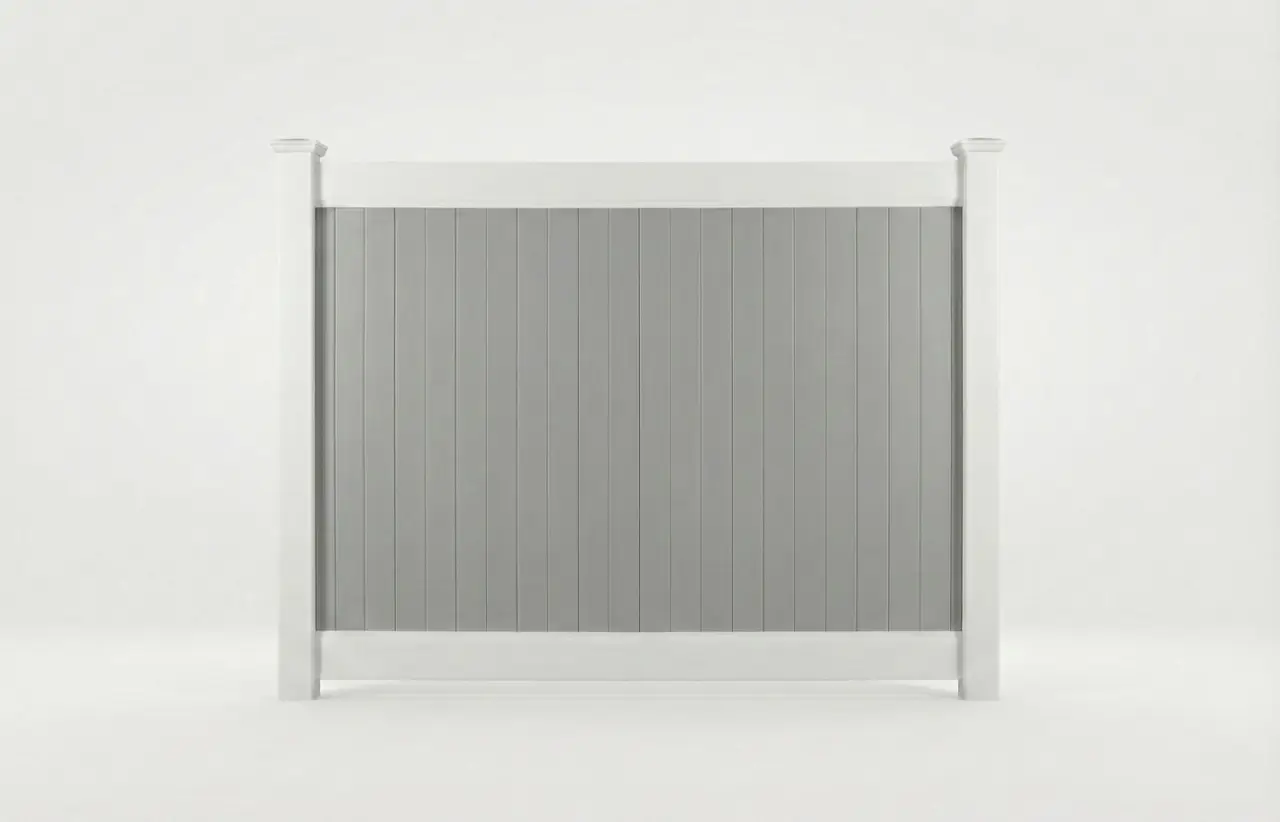
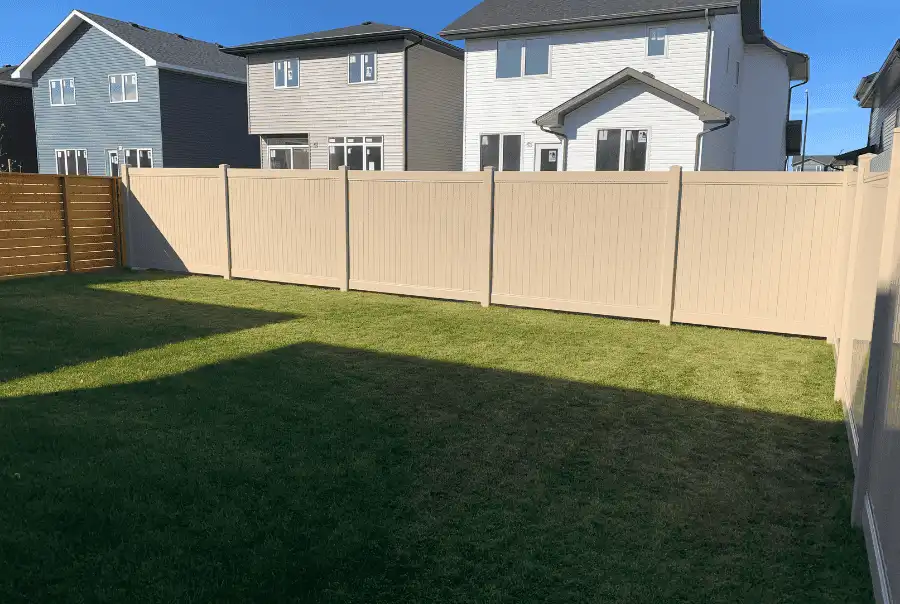
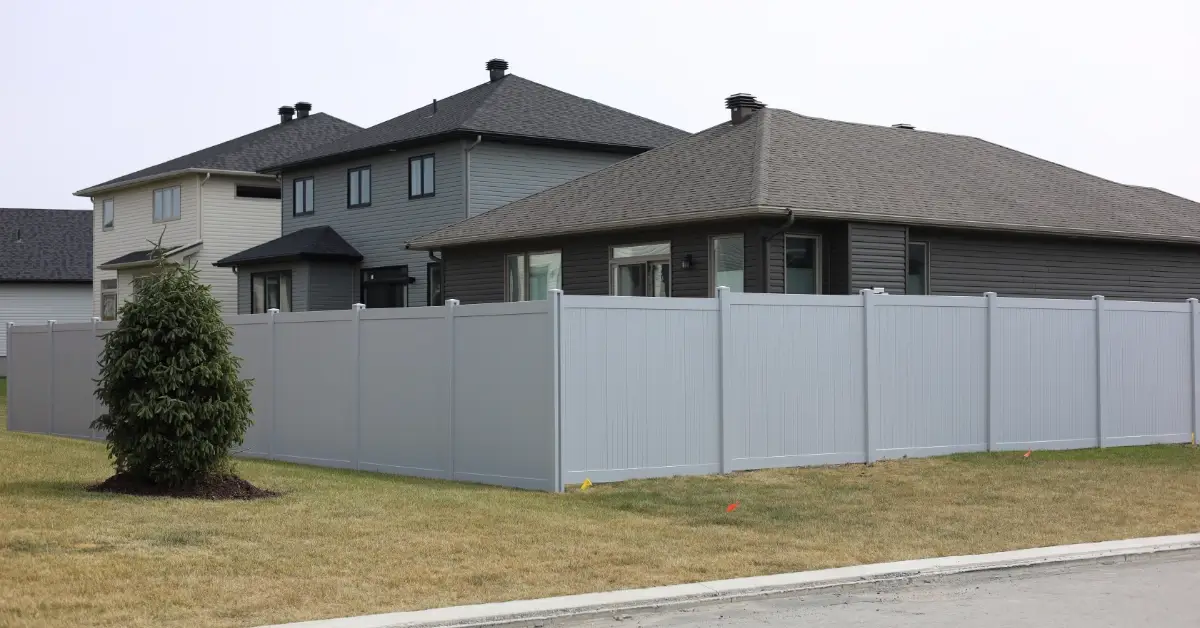
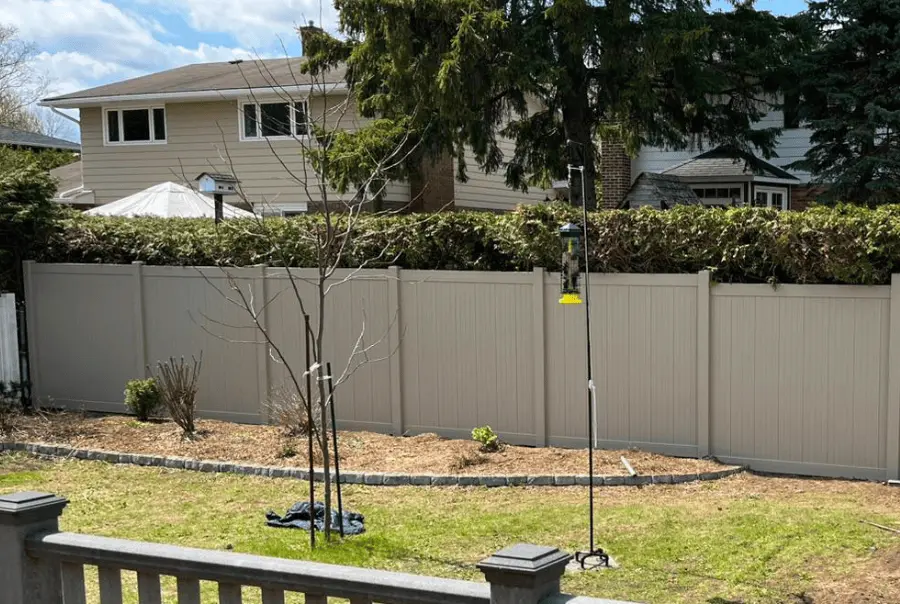
Solid Colours
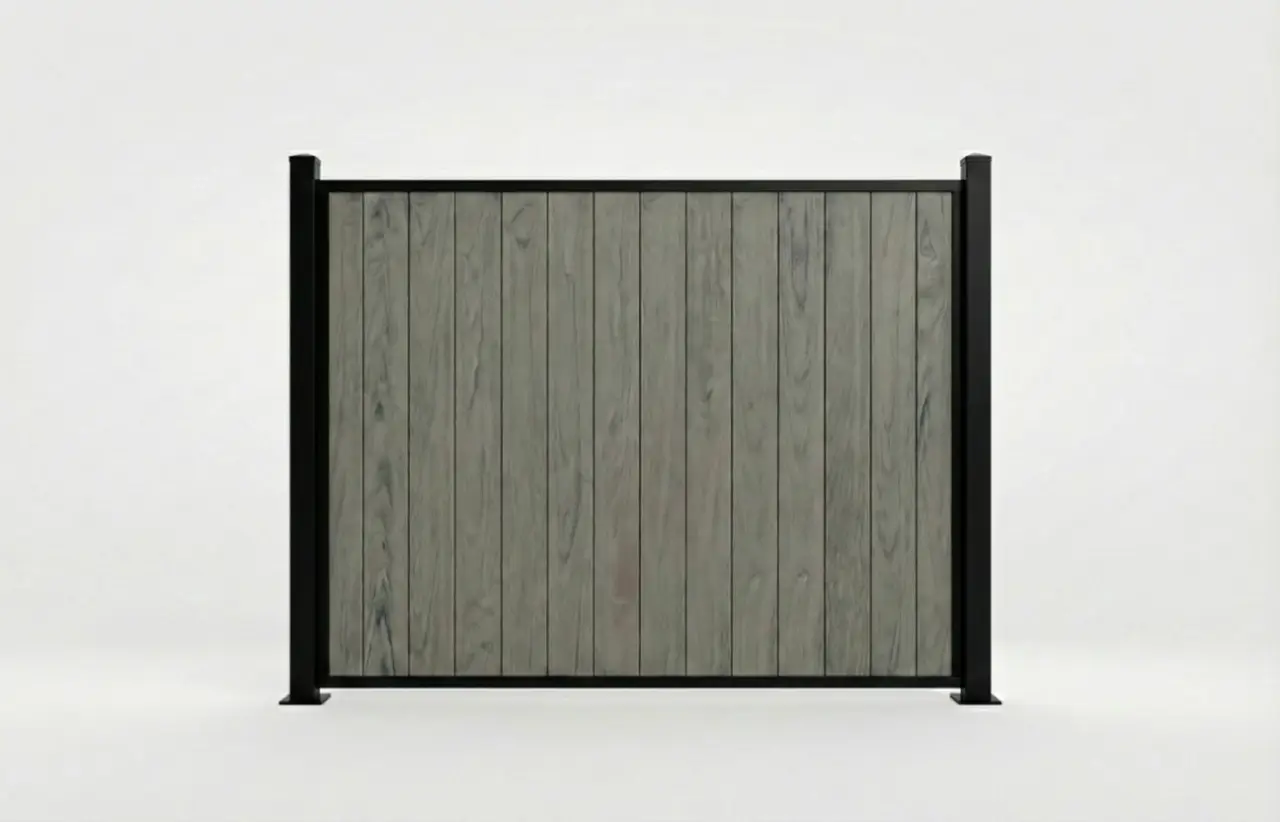
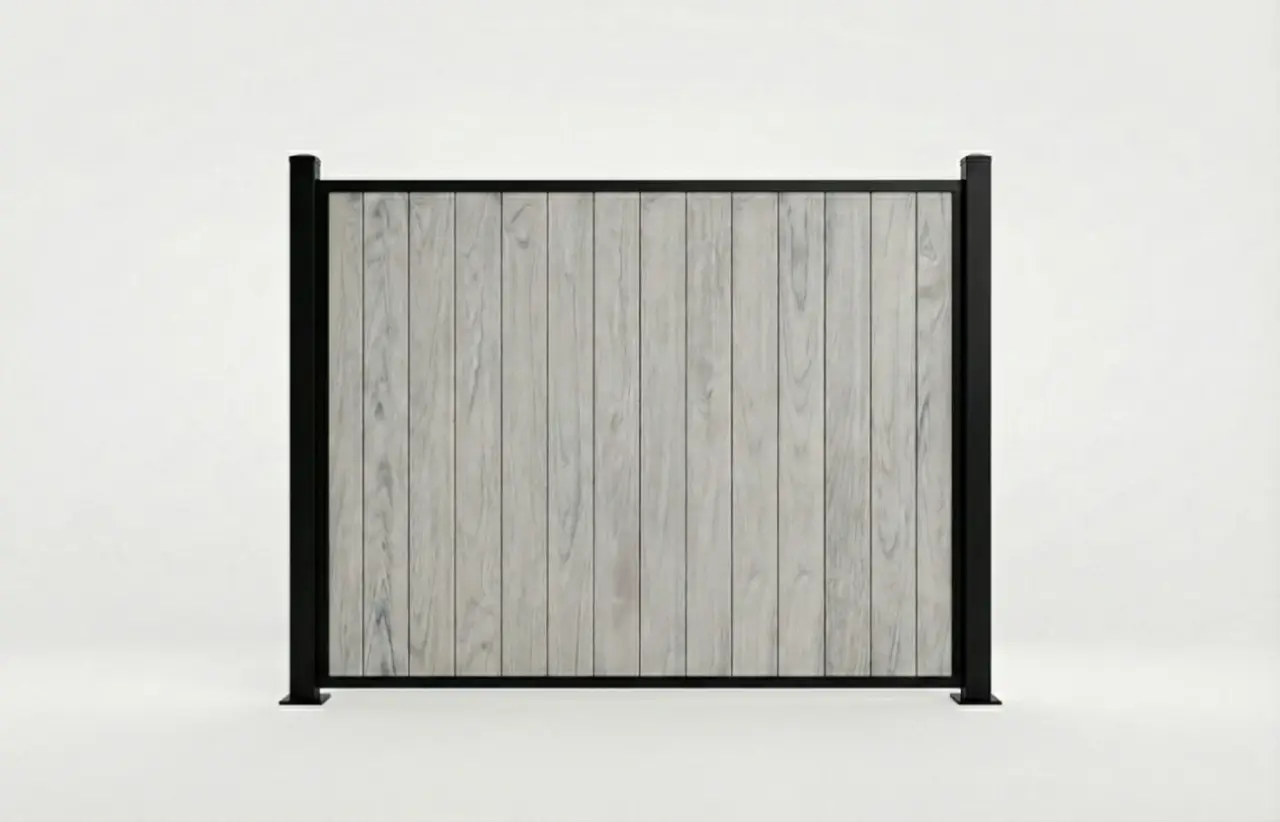
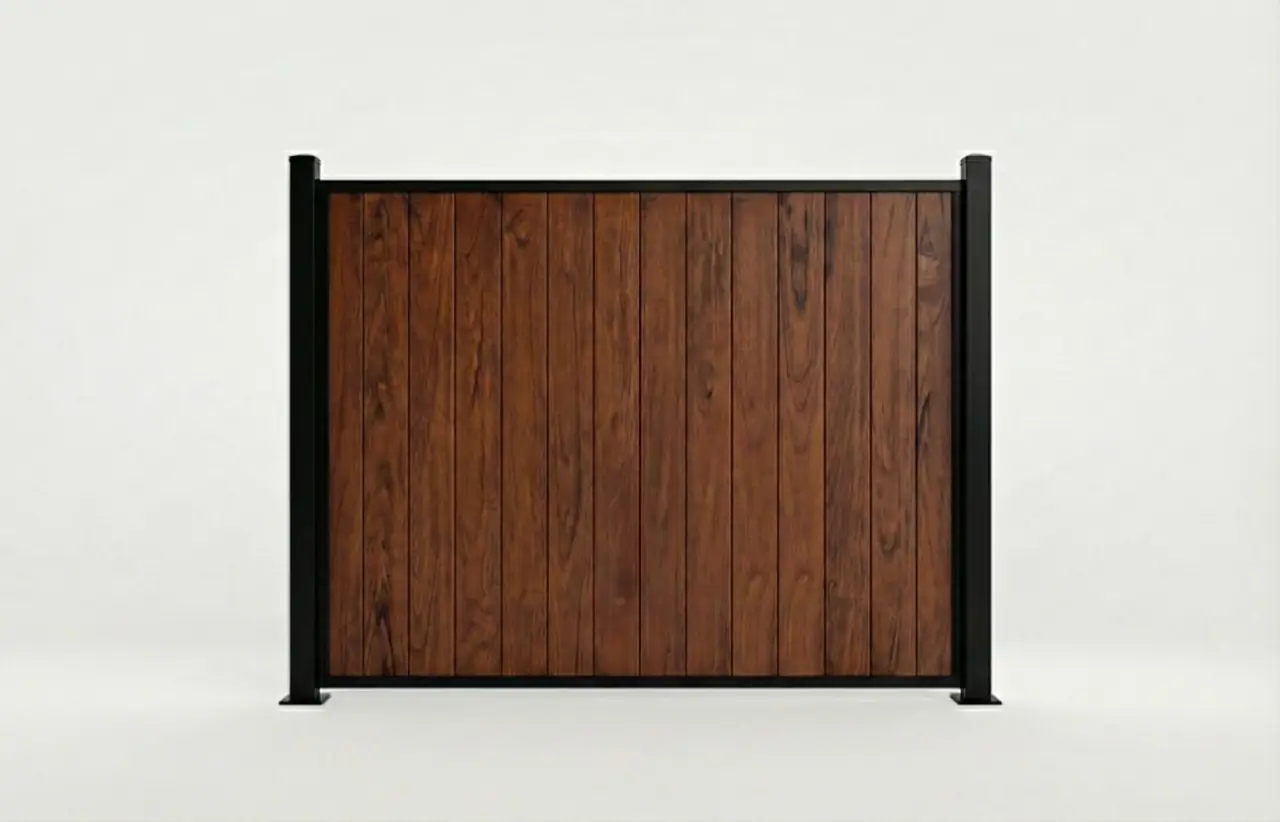
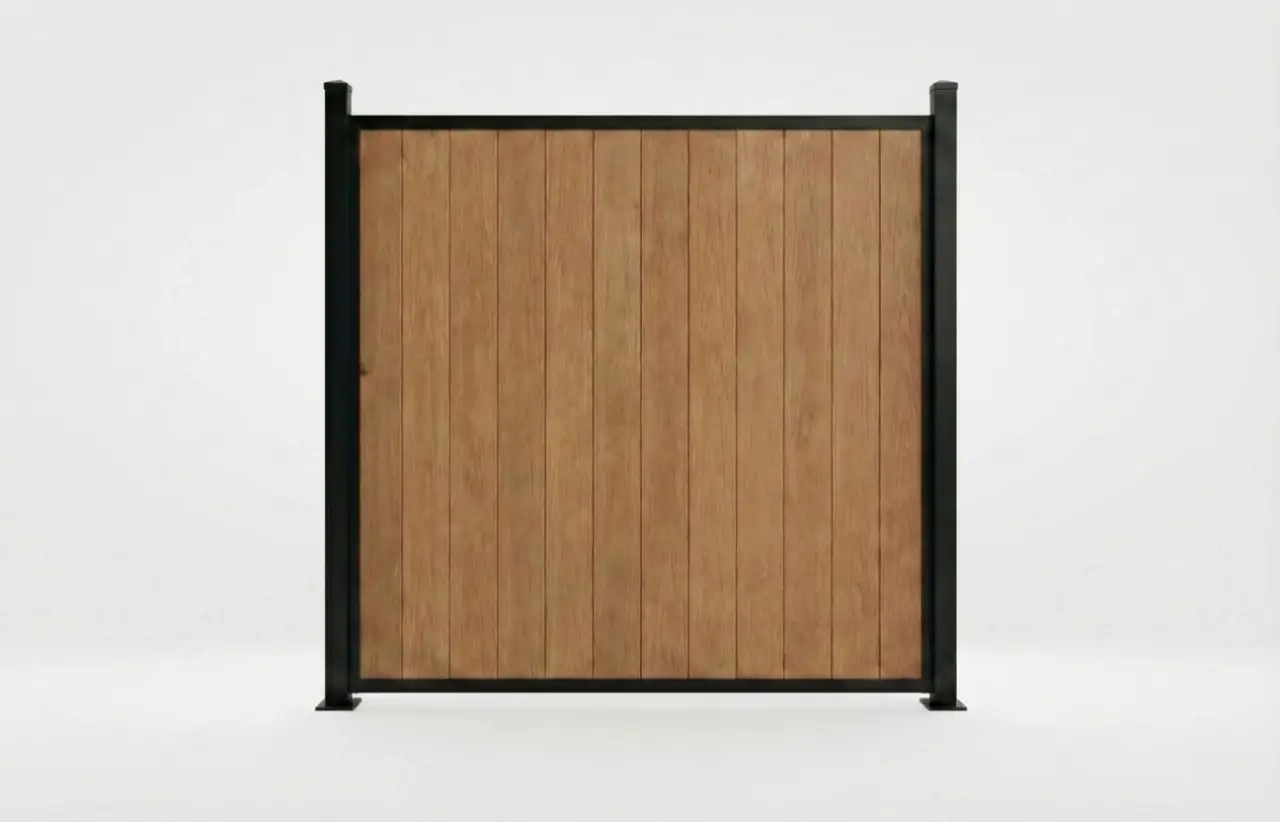
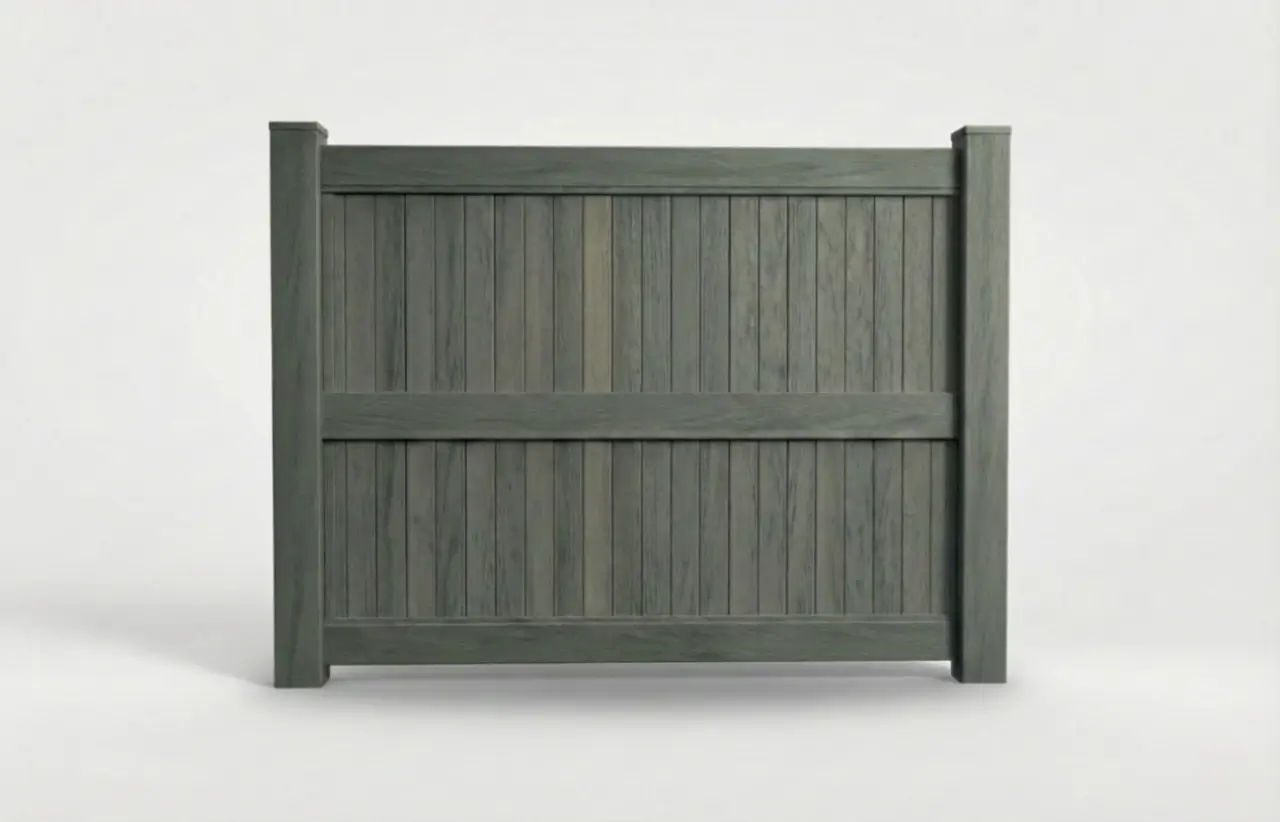
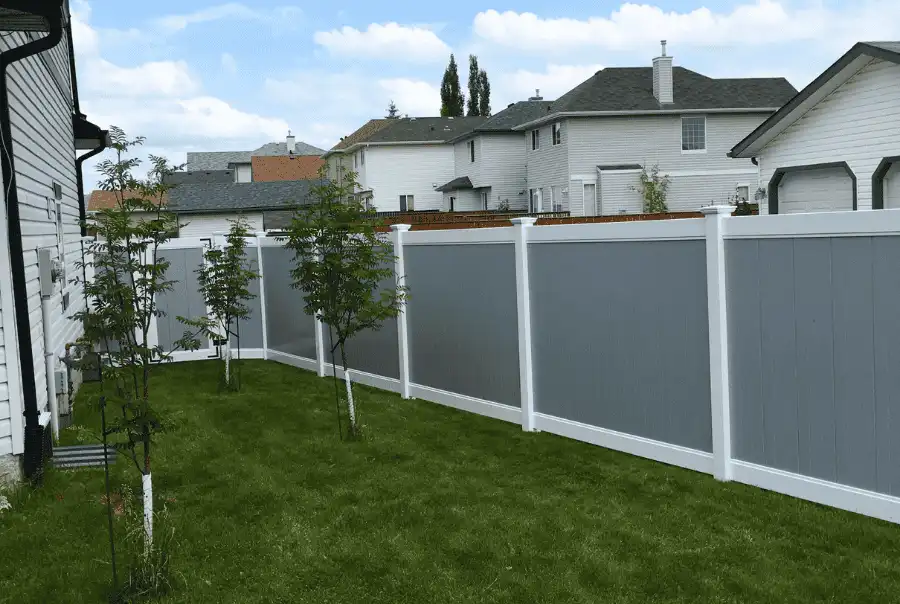
Hybrid - Wood Colours
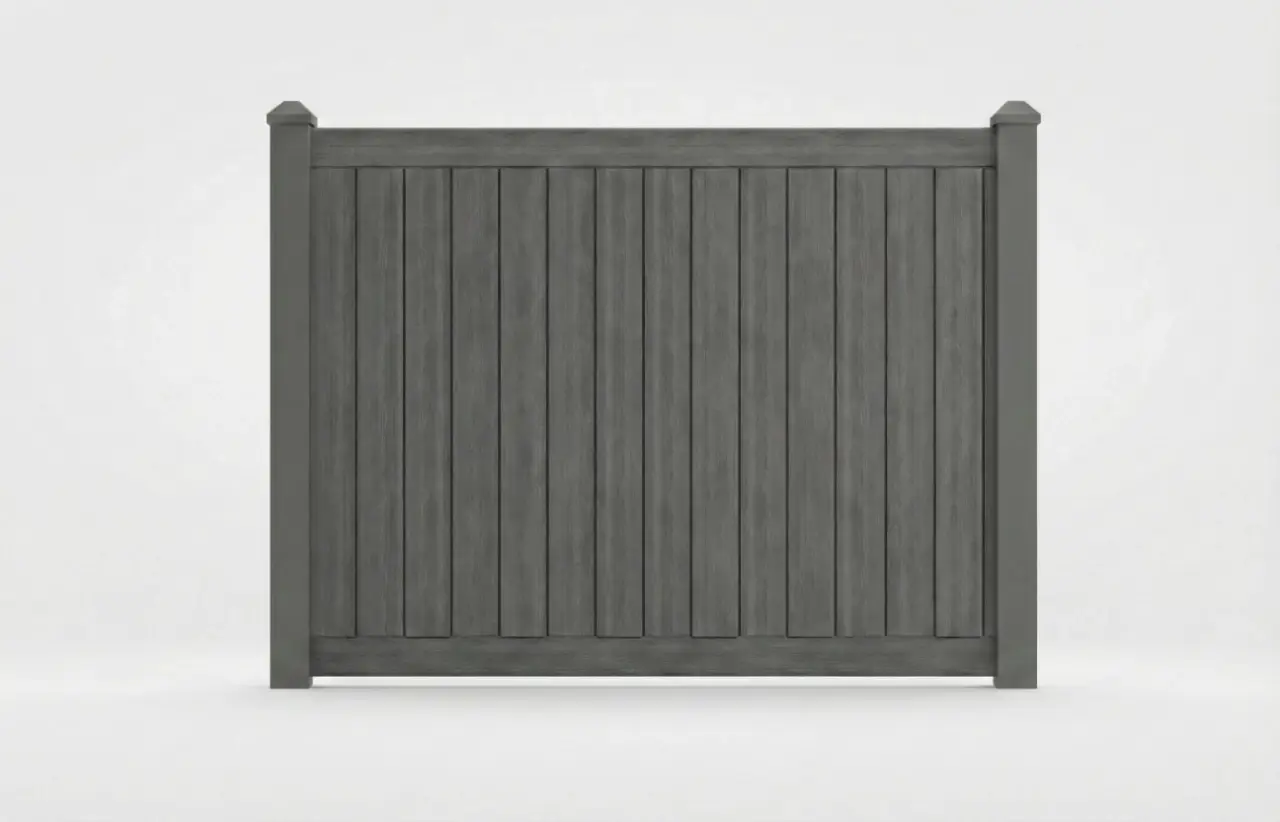
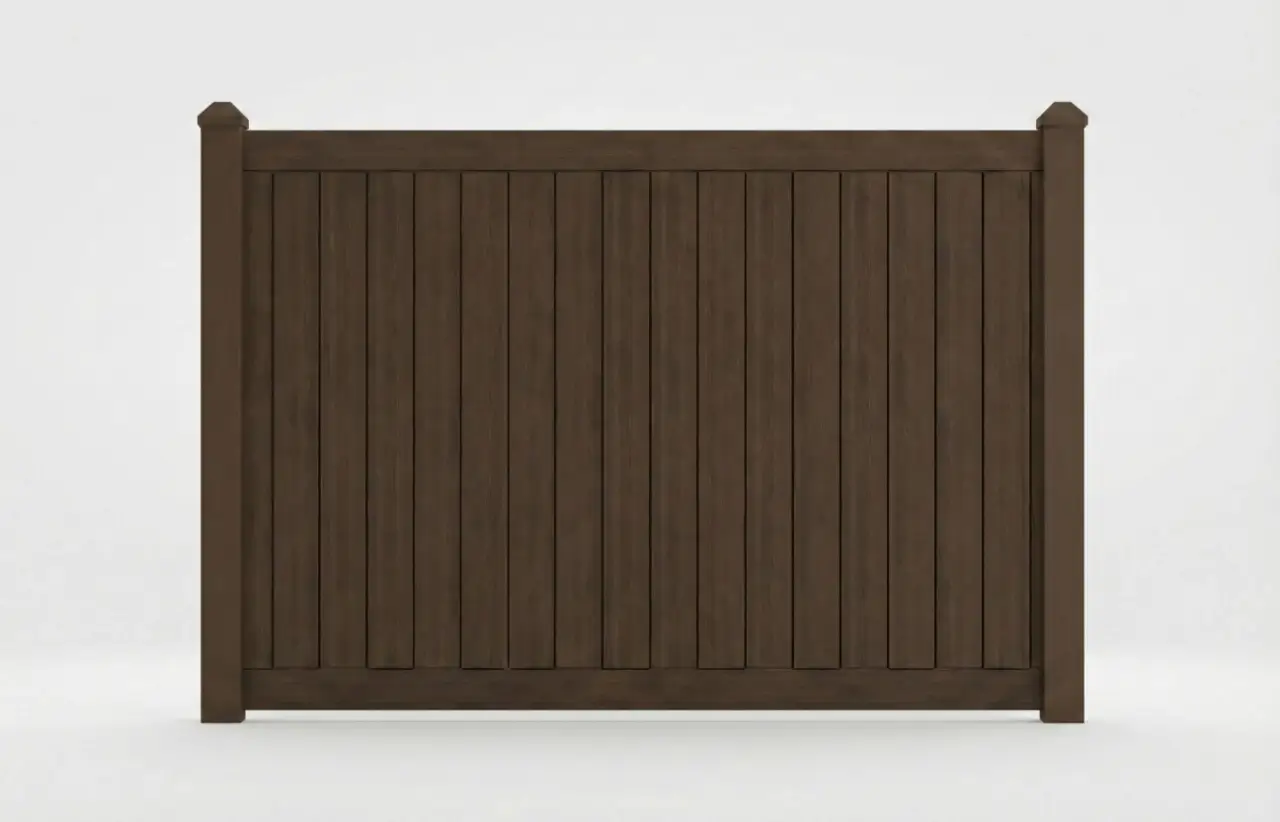
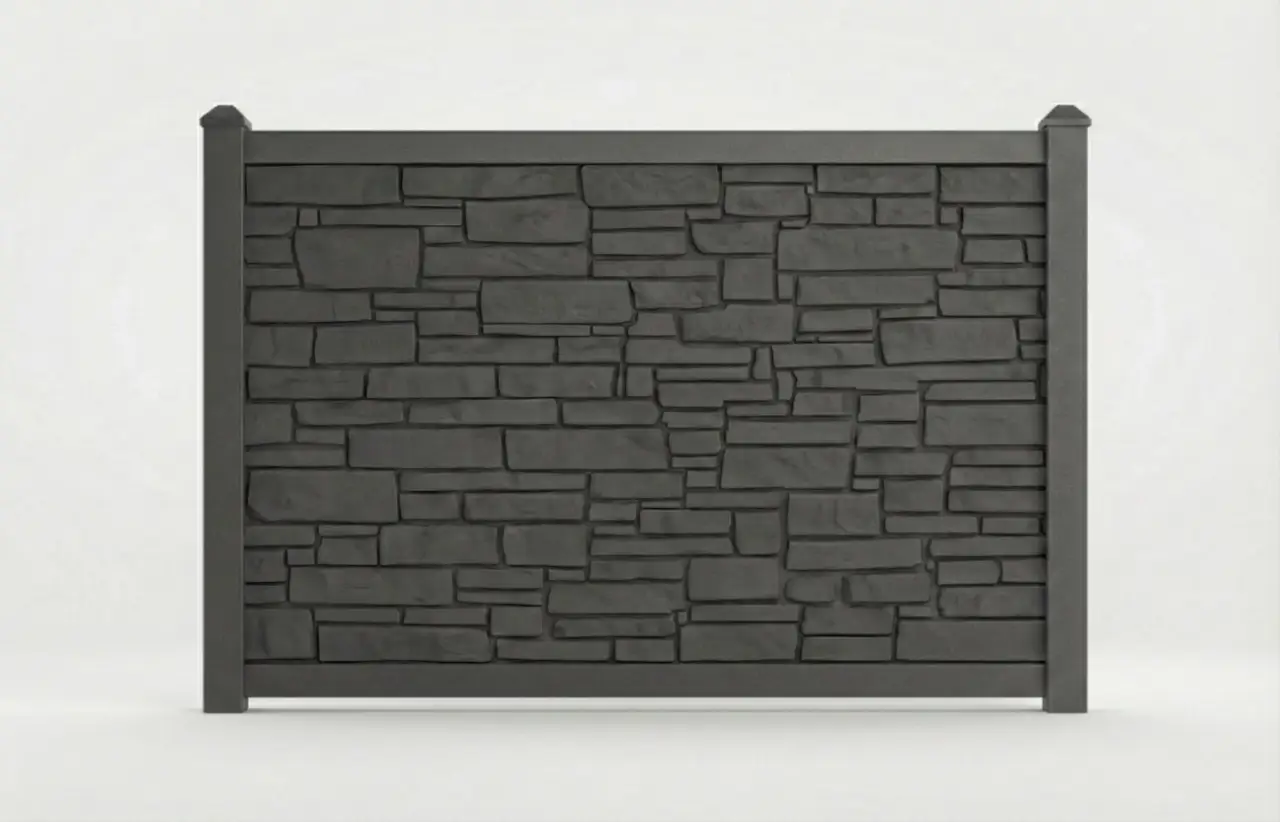
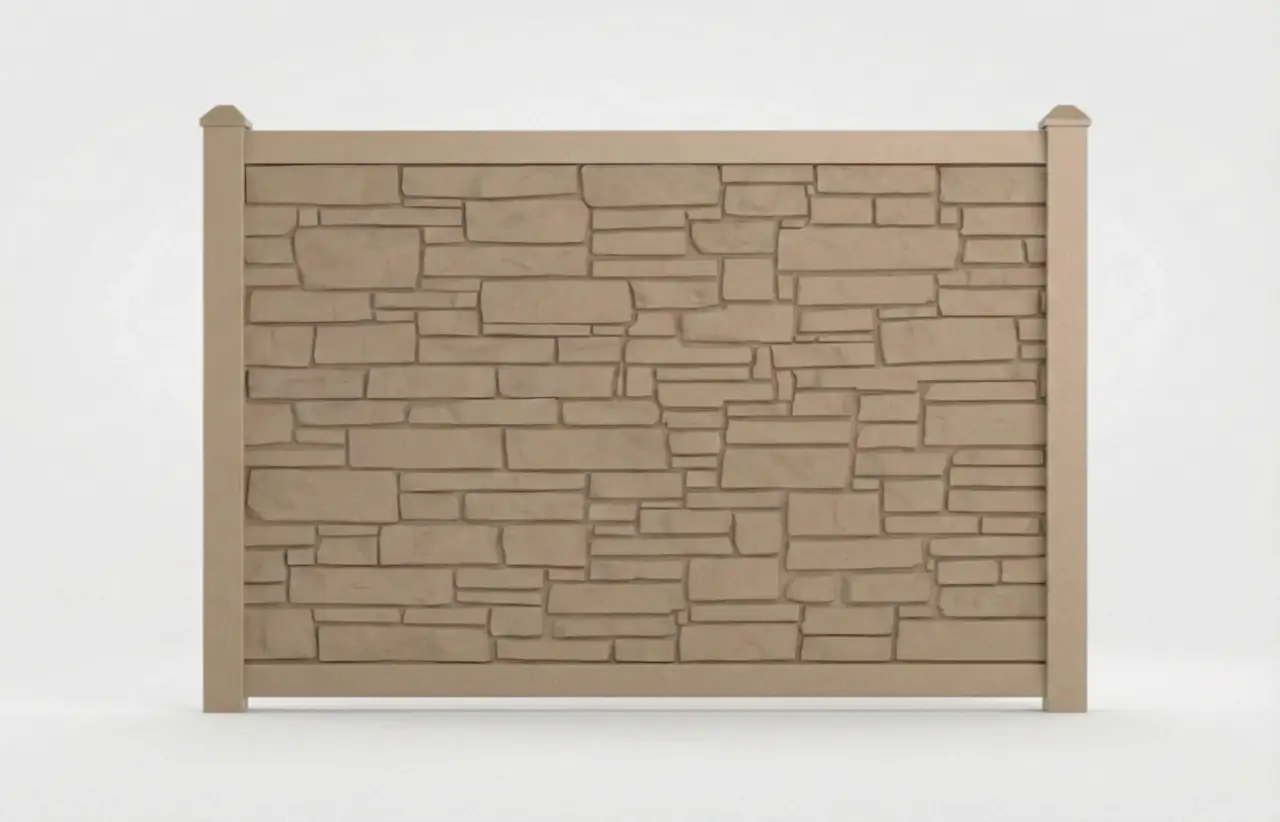
Textured
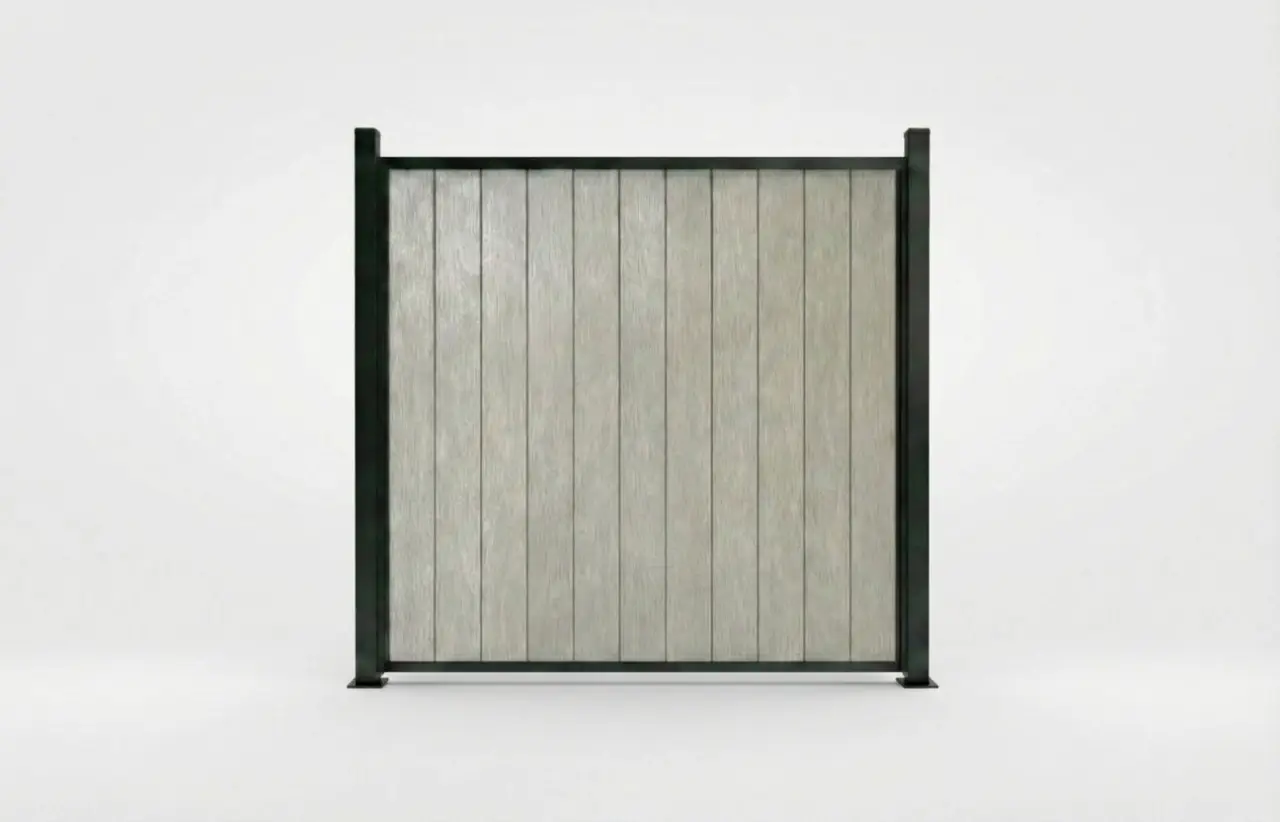
Hybrid - Composite
Other
At Commence Fence, we prioritize clarity and craftsmanship through every stage of your project. Our straightforward, five-step process is designed to provide Ottawa homeowners with a stress-free experience and a high-quality result that lasts for decades.
We start with a call to understand your needs and discuss a fence solution, along with a preliminary price range. If it makes sense, we schedule an on-site visit to measure, assess the property, and confirm details. After that, we send a quote by email including materials, specifications, and measurements.
Once you approve your quote and provide a deposit, we start preparing your project — including arranging all utility locates. Your project is then added to our production schedule, and your installation is typically booked within 2–6 weeks, depending on the time of year.
We use our signature No-Dig, No-Mess method, driving posts 5 feet into undisturbed soil. This commercial-grade technique is faster and cleaner than digging. Most projects take 2–3 days, leaving your lawn and garden mess free.
After your project is completed and a thorough cleanup is done, we complete a final walkthrough with you to ensure every detail meets our standards for craftsmanship — and your expectations. Our goal is to deliver a finished project that not only meets your needs, but truly exceeds them.
Find clear, honest answers regarding our professional fencing services and signature installation methods in Ottawa. We provide straightforward advice to help you choose the most durable, long-lasting materials for your property.
The most popular vinyl fence colours in Ottawa region are:
Good news! This season, we’ve matched our vinyl fence pricing to wood fencing, so you can enjoy the durability and low maintenance of vinyl at the same price as wood.
Generally, wood fences are less expensive upfront than vinyl. However, vinyl fencing often costs less over time because it requires minimal maintenance (no painting, staining, or frequent repairs) and lasts longer without warping, rotting, or fading.
Vinyl fences can be installed year-round, but temperature matters. Ideally, installation is done above 0°C, when the material is more flexible and easier to work with. Installation is still possible in colder weather (down to about -5°C) with proper handling, as vinyl becomes more brittle in low temperatures. In extreme cold, we may recommend scheduling installation during milder conditions to ensure the best fit, finish, and long-term durability.
On Average we install fences in 2-3 days, while larger projects may take up to 1 week.
Yes. We always aim for a balanced, professional appearance. For example, if your fence line is 43 feet long and standard panels are 8 feet, we don’t install five full panels and one short 3-foot panel. Instead, we evenly adjust the panel widths—such as installing six panels at approximately 7.1 feet each—so the fence looks uniform and well-proportioned along the entire run.
All of our vinyl gates are custom-made for each project. They are built using the same vinyl fencing materials as your fence, ensuring a perfect match in style, colour, and overall design.
Preassembled vinyl panels are designed for DIY installation and come lightweight and pre-glued, making them quick and easy to install. However, they offer limited flexibility for slopes, uneven ground, or custom layouts. Professional installations use separate vinyl components – posts, rails, and pickets assembled on-site-which are typically thicker and stronger, allowing for precise adjustments, better durability, cleaner transitions, and a more polished, custom-built result. Another advantage of separate components is that individual parts can be easily replaced if damaged, without the need to replace the entire panel.
You can build a vinyl fence on the property line in Ottawa only if your neighbour agrees to share ownership and costs. If they don’t consent, the fence must be built fully on your property – ideally with a small setback (about 2 inches) to avoid any encroachment issues. Building on the line means shared responsibility and joint decisions about material, style, colour, and height. Building inside your line keeps full control – and ongoing costs – entirely yours. Always confirm local bylaws and property surveys before building
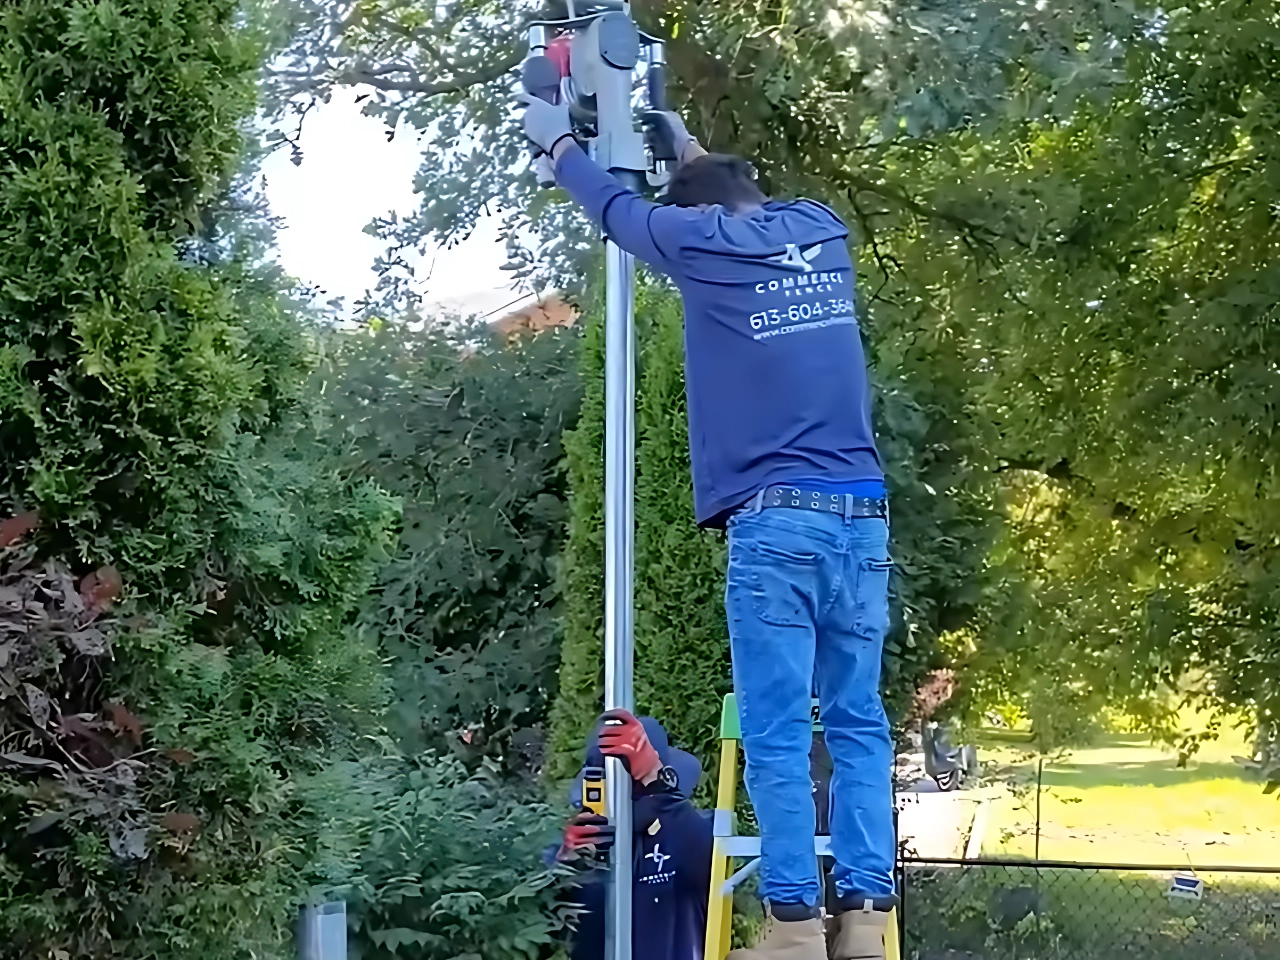
We use our signature No Dig – No Mess method.
Instead of digging holes and pouring concrete, we drive each post up to 5 feet into undisturbed soil — just like commercial pile-driving, but scaled for residential fences. No concrete. No dirt piles. No damage to your lawn or garden. Faster, cleaner installation that lasts for decades
For vinyl fences, we use driven galvanized steel posts to ensure strength and long-term durability.
Standard Warranty (Free)
• Schedule 20 steel pipes
• Driven 3.5–4 feet deep
Extended Warranty ($)
• Schedule 40 steel pipes
• Driven 4–5 feet deep
About Schedule 40 posts
Schedule 40 posts are heavy-duty 2⅜″ galvanized steel posts with a 4 mm wall thickness—the same type commonly used in commercial fencing. These round steel posts are designed to withstand Ottawa’s harsh winter conditions and provide exceptional strength and durability for decades.
For sloped or uneven properties, we offer two fencing options: stepped and sloped. A stepped fence is installed in level sections that step up or down with changes in elevation, creating a clean, structured look and working best on steeper slopes. A sloped fence follows the natural contour of the land, with panels installed at an angle so the top of the fence slopes smoothly, making it ideal for gradual slopes.
We proudly provide vinyl fence installation in Ottawa region, including: Barrhaven, Kanata, Stittsville, Carp, Manotick, Richmond, Carleton Place, Greely, Findlay Creek, Orleans, Rockland, Russell, Embrun, Limoges, and Osgoode — a full 60+ km service radius.
A: In most residential fencing applications, PVC fencing and vinyl fencing refer to the same material. Many homeowners search for “PVC fencing” while others search for “vinyl fencing,” but both terms are commonly used to describe durable, low-maintenance plastic fencing systems.
For a detailed explanation of the differences, terminology, installation considerations, and buying advice, read our complete guide:
Experience the peace of mind that comes with expert installation backed by warranties
Basic Warranty
(Schedule 20 Steel pipes, driven 3.5-4 feet depth)
Advantage Warranty
(Schedule 20 Steel pipes, driven 3.5-4 feet depth)
Premium Warranty
(Schedule 40 Steel pipes, driven 4-5 feet depth)
Real stories from homeowners who trust our craftsmanship.

Get a free estimate and discover how we can transform your outdoor space.